Spring is here and it's time to resume work on the PE&A. Damage over the winter has been pretty minimal. The rock work has settled but is stable and I didn't experience any rock wall failures over the winter. The ballast has settled as I expected it would and, with a few minor exceptions, I can pick up where I left off in the fall.
 |
| Ballast has settled into place and I'll need to add more ballast to some sections which I was expecting. Here there was quite a bit of settling and I think the gravel has pulled the cribbing down with it. The track is now floating above the ballast, supported by the end of the trestle which has stayed in place. |
 |
| This was the biggest surprise. Here the entire slope seems to have slid downhill, taking the small retaining wall with it. Won't be too much work to repair, but I am concerned that the slope may continue sliding. I may want to drive stakes in here to help stabilize the slope |
 |
| I thought the PE&A workers could use a few crew houses along the line. I found these unfinished wood houses at Joann Fabrics (on sale for about six dollars) and they seemed about the right scale (and price), even if they are marketed as "bird houses." I started off with a coat of primer on all sides. |
 |
| I tried a brush and latex paint but ended up switching to spray paint as it is so much easier to use on a small object like this with lots of corners. I left the roofs primed but unpainted as I would be covering them with corrugated metal sheets. |
 |
| For roofing I went with something even cheaper than the houses. Why recycle when you can upcycle? Cans have been rinsed and dried. |
 |
| With a pair of tin snips I removed the bottom and top from the can and cut open the cylinder so I had a rough rectangle of aluminum. Leather gloves are a must given all the sharp edges. |
 |
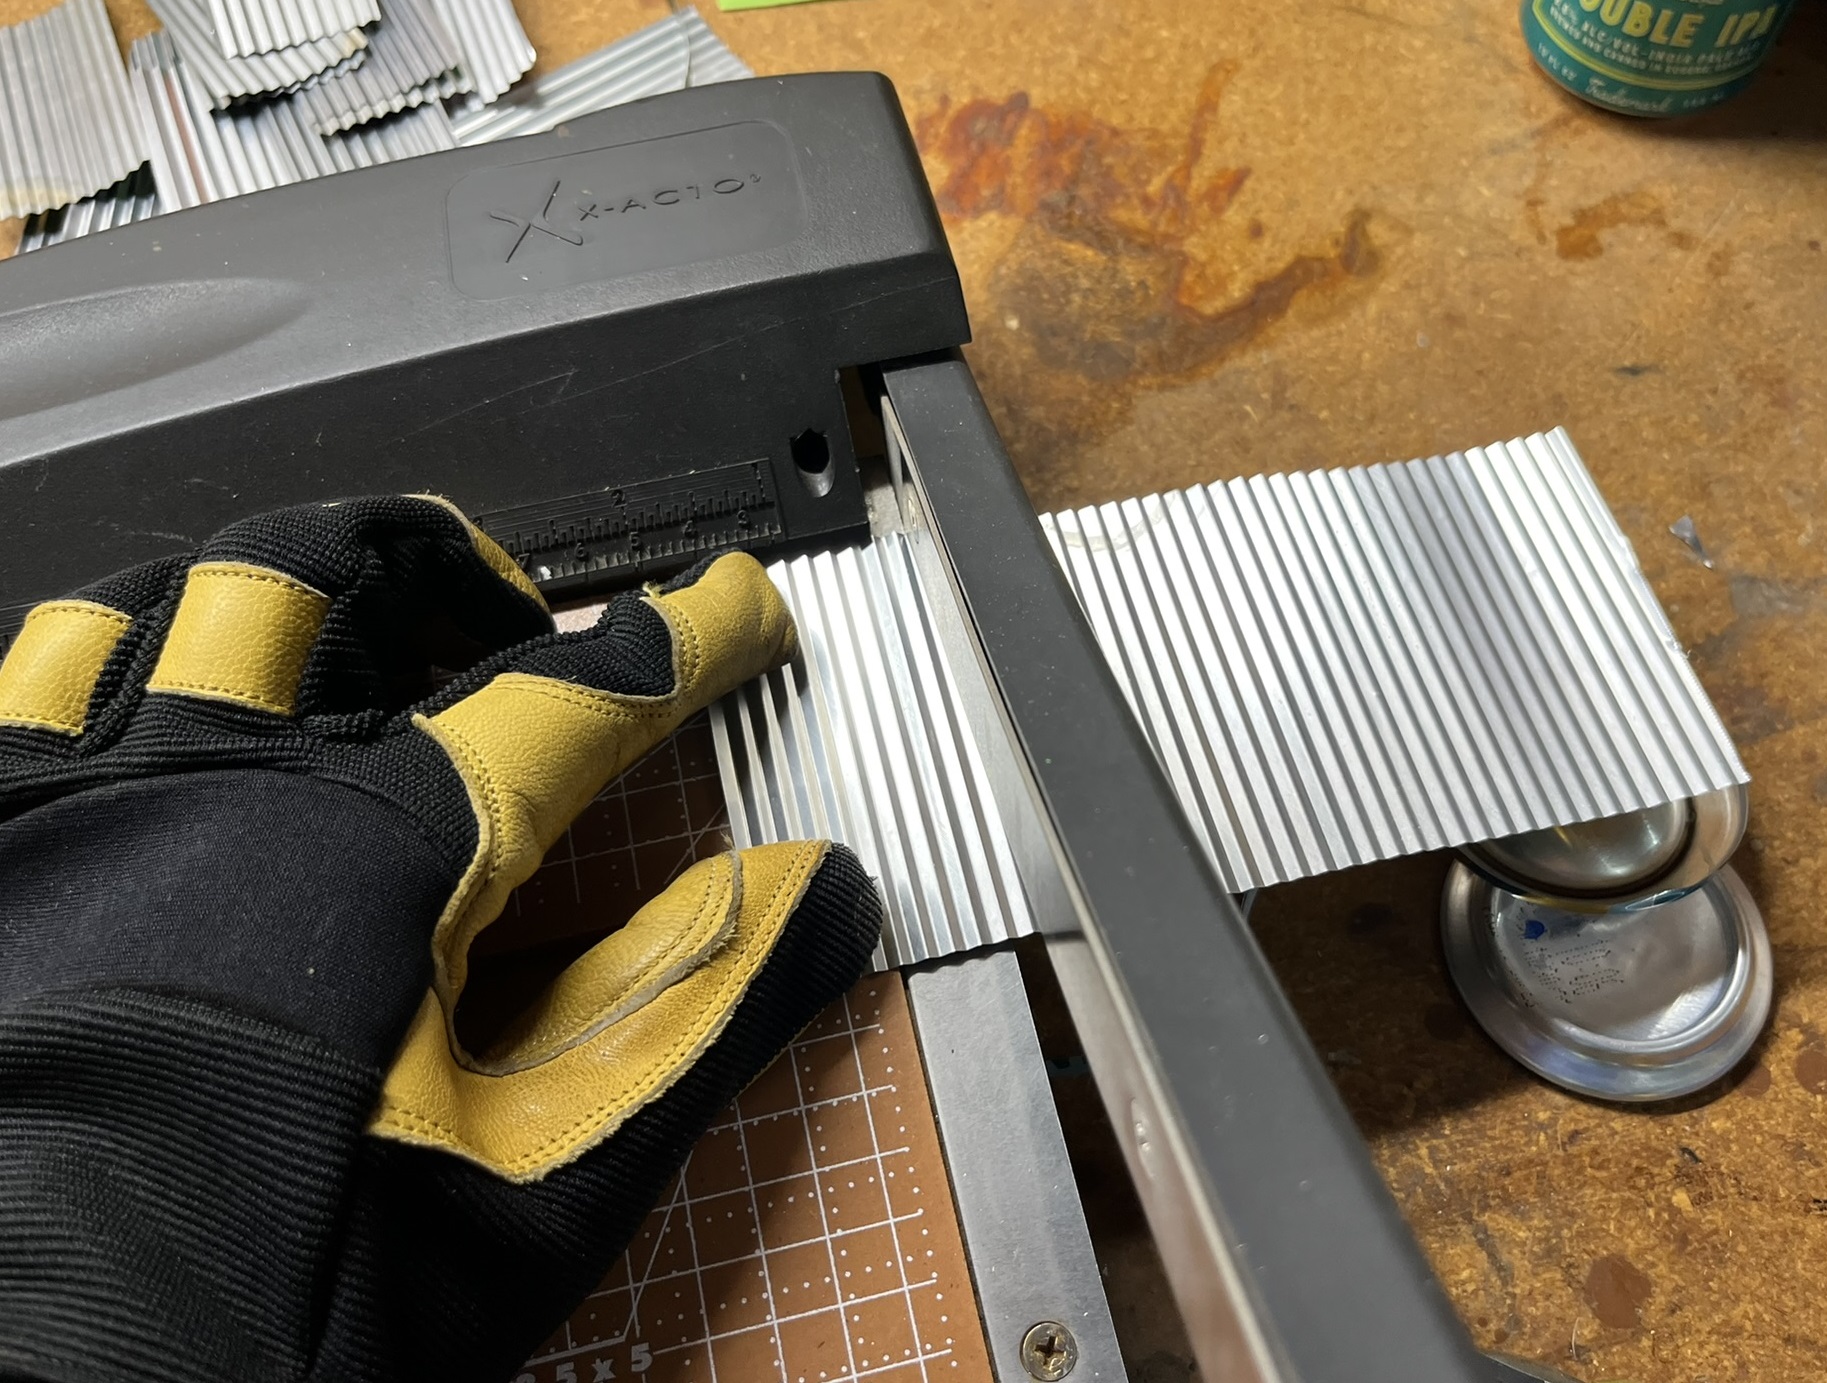
| After flattening the aluminum along the edge of my workbench, I used a guillotine paper cutter to trim both long edges so the sheet was exactly 3.4 inches wide, then trimmed one short edge so it was perpendicular. I decided that my roofing would be made from 8' x 4' panels of corrugated metal, which in my target scale of 1:29 ends up being 3.4" x 1.7". |
 |
| Next step is to corrugate the metal. I'm using a crimper designed for paper that you can get at any craft store. |
 |
| I then cut the metal sheet into 1.7" wide pieces. Each can produces four pieces. |
 |
| Several cans later, I taped down all my metal pieces onto a piece of cardboard to hold them steady for painting. I used a combination of a medium gray and a metallic aluminum spray paint to give the pieces a weathered look. |
 |
| I next used a few colors to try to mimic rusting. This is new for me so the results aren't the best. I think I need to watch some online videos and practice some more. My second batch turned out a little better than this first batch. |
 |
| Once everything was dry it was just a matter of gluing the panels on the roof and cutting some to size to fit around the chimney. |
 |
| With more panels on the roof the clamping got a bit creative. |
 |
| And here is the first completed house set out by the track. |
 |
| The very first colors are starting to pop up in the yard. Mountain kittentails (Synthyris missurica) are pushing up through the leaf litter. |
 |
| And this is a new one for me this year. These catkins are the bloom of the Scouler's willow (Salix scouleriana). They are attracting a variety of flying insects which I was excited to see. |


No comments:
Post a Comment