Another train related activity from earlier this year I had
not written about yet was a day trip down to Tacoma by rail. I knew this was going to be a long post as I had so much to cover so I put it aside until I had some time. Fortunately I had
made some notes to help me remember what I saw.
Sound Transit began running
Sounder commuter trains between Tacoma and Seattle 17 years ago and the
service has continuously grown over that time, often struggling to keep up with
the growing demand. But I’m embarrassed to say that I had never been on a
Sounder train before this year, as until recently they weren’t of that much use
to those of us living in Seattle.
 |
| Sound Transit 901, an EMD 59PHI, ready to head south to Tacoma. This is one of the oldest locomotives in the fleet, purchased in 1999 to initiate service. These locomotives typically pull trains of seven bi-level coaches built by Bombardier. |
 |
| King Street Station, built 1904–1906 by the Northern Pacific and the Great Northern. |
At first the commuter trains only ran in the direction of
the primary commute -- into Seattle in the morning and out of Seattle in the
evening. More recently, Sound Transit “reverse commute” trains operating in the
other direction were introduced, and now there are three trains running from
Seattle to Tacoma each morning, allowing me to go down to Tacoma for the day
and back in the afternoon. There have always been plenty of bus options that
allow me to do the same thing, but the point of this trip was to use as much
rail as possible – Sounder (commuter rail), Link Light Rail (Seattle), and Tacoma Link (usually called light rail, but it's actually a tram).
There is still very little customer demand for the “reverse
commute” trains – the real purpose is to send a train back down to Tacoma after
its first run in the morning in order to pick up a second load of passengers headed to Seattle. But rather than just repositioning the trains on deadhead runs it makes
sense to use them as revenue trains in both directions. Sounder commuter trains
now carry about 17,000 people per weekday. And while the trains coming into
Seattle are packed to the gills, trains heading out in the morning have very
light loads.
 |
| I've walked by here multiple times before but this was my first time turning right and heading down to the Sounder platform. |
The train uses BNSF track between Seattle and Tacoma, a route jointly built by Northern Pacific and by a local company called the Puget Sound Shore Railroad Company in 1883-84 which met up about halfway between the two cities. In the fall of 1883 there were 1,400 Chinese working on this line—more about that later in this post. The first Northern Pacific train ran between Tacoma and Seattle on June 17, 1884 and the first regularly scheduled runs started three weeks later, taking 3 hours and 25 minutes and costing $1, the equivalent of about $25 in 2017. Today's Sounder train takes just under one hour and costs $5.25. I may be using a 133-year-old route, but the experience has improved a bit.
 |
| Detail of a map from 1900 showing the southern half of the Northern Pacific route to Tacoma. Auburn, Sumner and Puyallup were stops along the way for Northern Pacific trains and they are again today for Sounder trains. The Milwaukee Road route had not been built yet so this map is missing the last half-mile of the Sounder route into Tacoma. |
Travel by train means you get to see things you just can’t see from a road, like some views of the Duwamish river that are not accessible by car, and the section of track between Sumner and Tacoma that winds through an area still primarily in agricultural production.
When arriving in Tacoma, the train switches over to
track originally owned by the Milwaukee Road for the last half mile. The Sounder station is in an old Milwaukee
Road warehouse. There was a lot of construction going on around the station as new tracks are being added and platforms are being extended as Amtrak will begin using it later this year, thanks to a multi-year WSDOT Tacoma Bypass project that is refurbishing an old rail route between Tacoma and the Nisqually river that will allow passenger trains to avoid the congestion and slow track speeds along the BNSF route through Tacoma. More information on that project can be
found here.
 |
| Platform extension work at the Tacoma Dome Station in preparation for Amtrak. |
After disembarking the Sounder train, it's just a short walk across the street to catch the
Tacoma Link, the light rail line operated by Sound Transit connecting the train station with downtown. The current line is a very short 1.6 miles long, but soon will be extended by an additional 2.4 miles.
 |
| Tacoma Link uses bi-directional trams manufactured by Škoda, the same type used by the Portland Streetcar system. |
The main draw in Tacoma for this trip was an exhibit at the
Tacoma Art Museum of works by Abby Williams Hill, a painter who spent much of her life in
the Pacific Northwest. In the early 20th century she was hired once
by Great Northern and three times by Northern Pacific to paint images that the
railroads could use for promotional purposes, including exhibition at various
world’s fairs in the early part of the century. She spent four summers hiking
and painting for the railroads, in the North Cascades, northern Rockies and Yellowstone National
Park. Many of her paintings, as well as many
letters, diaries and other personal items
are now held by the University of Puget Sound,
which loaned the material to the Tacoma Art Museum for the exhibit. None of the pictures below really do the artwork justice—you need to visit to see the art in person.
 |
Clark Fork of the Columbia River, near Eddy, Montana, 1904.
This view of Clark Fork is just a few miles upstream from Thompson Falls, looking west. |
 |
| Glacier Peaks During Storm, 1903. |
 |
| Mount Rainier From Eunice Lake, 1904. |
 |
Northern Pacific Yellowstone Park Line, 1905.
Hill was commissioned to design this logo for the railroad's line into the park. |
I didn’t realize until I arrived that the TAM also had
another railroad related exhibit on view. This one was a collection of works by
contemporary artist Zhi Lin who was exploring the role of Chinese laborers who
helped build railroads in the western U.S. in the latter half of the 19th century. Tens of thousands of Chinese laborers worked on
railroads—the exact number is not know but it was at least 30,000. Yet less than a thousand of those people are known today by name, mostly from railroad payrolls that had survived.
The purpose of his art is to give a voice to these unnamed laborers.
 |
| One of the pieces in the exhibit was a video projected on a wall in the gallery showing an annual reenactment of the golden spike ceremony at Promontory Point, Utah, recorded from the reverse side and at a distance, symbolizing the view that the Chinese laborers would have had. At the base of the projection area is a sloped layer of track ballast. |
 |
| A close-up view of the ballast. Many of the rocks had names of Chinese laborers, some in Roman script, others in Chinese script. After this exhibit closes, the ballast will be incorporated into a display at the Chinese Reconciliation Garden. |
 |
| Also in the exhibit were a number of watercolors of various contemporary scenes around Tacoma that have historic significance, in this case the contemporary site of the Chinese Reconciliation Garden. Prominent in the foreground is the BNSF track, originally built by Chinese laborers for the Northern Pacific. |
Additionally, there were some pieces the artist had created
that specifically explored the
1885 expulsion of Chinese from Tacoma. The
centerpiece is a 20-foot scroll depicting the forced march of all the Chinese
residents of Tacoma (about 200) down Pacific Avenue and then along the tracks
of the Northern Pacific line out of town. The line of Chinese surrounded by men
with guns and horses forcing them to leave are juxtaposed on a
background showing a contemporary view of Tacoma. And the very middle of the
drawing is the Tacoma Art Museum where you, the viewer, are looking at the
artwork. A very clear reminder that we are always surrounded by history that is very much tied to place. Some would
say that the ghosts of the past always surround us, but I prefer to think that we are living in both the past and the present simultaneously.
 |
| Detail from the artwork showing the expulsion of the Chinese from Tacoma, here coming down Pacific Avenue and turning uphill to follow the Northern Pacific line out of town. In the lower part of the picture is the Tacoma Art Museum. And the tracks in the image are not historic but the contemporary tracks for Tacoma Link. |
 |
| This image provides a detail of a mid-1880's map that the artist used while conducting research for this project. The pink line highlights the path of exodus along the Northern Pacific track. Where the yellow and pink lines converge is the intersection illustrated in the artwork above, and the site of the Tacoma Art Museum today. |
 |
| This is a contemporary view of the old Northern Pacific right-of-way, just uphill from the intersection. Today this is a pedestrian walkway through the University of Washington Tacoma campus. Some sections of track have been preserved along the pathway as a visible link to the past. |
After that exhibit a logical next destination would have
been the
Tacoma Chinese Reconciliation Garden along the waterfront. Getting to
Tacoma on public transit is very easy, but getting around Tacoma is not so
much, as city bus routes may only run once per hour. So I decided the garden
would wait for another day when I had a car, and instead I thought I would go to the Foss Waterway Seaport, only about a mile away. Using Tacoma Link cut that walking distance in
half.
The
Foss Waterway Seaport occupies the last surviving section of
what was once a quarter-mile long grain storage warehouse along the waterfront.
Northern Pacific trains would deliver grain on one side of the warehouse and it
would be loaded out the other side onto boats. Most of the waterfront
warehouses from this era have been torn down, burned down, or literally fallen
into the water. Saving this last remaining section and making it safe for
occupation was a big endeavor, which included replacing all the wooden truss
supports underneath the building with concrete piers. The roof is held up using
a modified Howe truss design that incorporate 150-foot long single piece bottom
truss chords. Each one came from a single Douglas fir, a resource that can no
longer be found.
 |
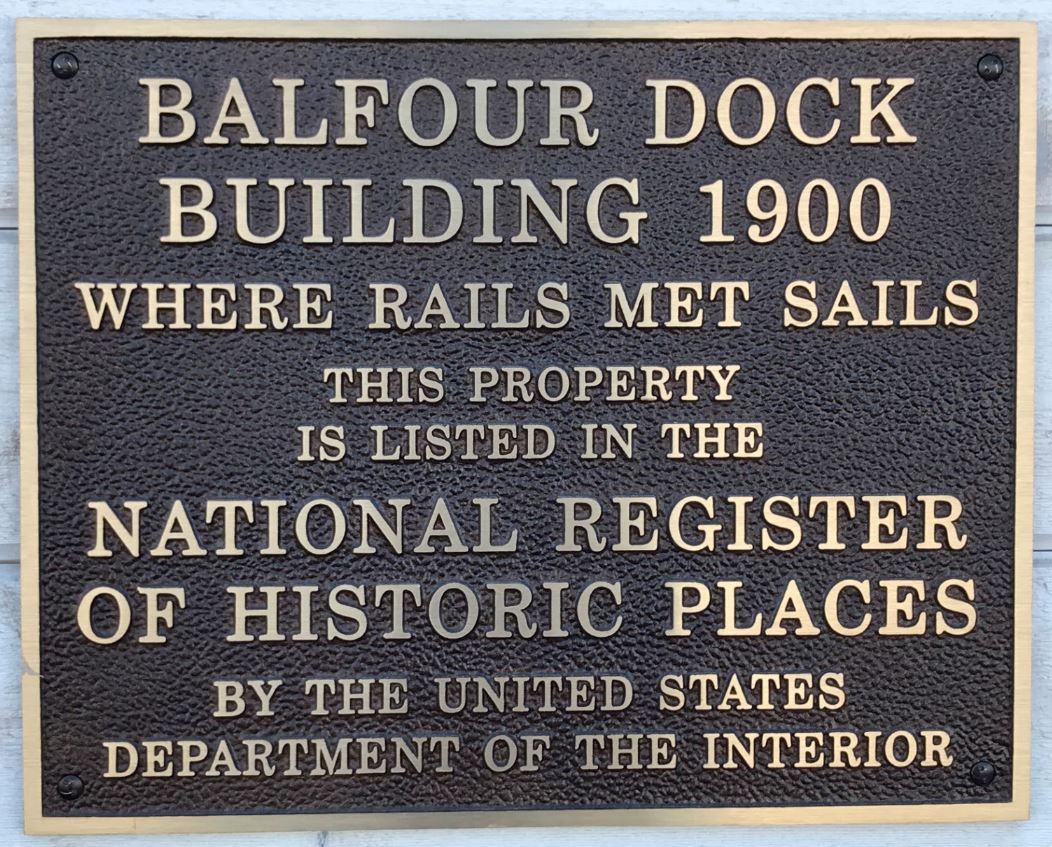
| The building had plaques on two sides commemorating its status on the National Register of Historic Places. |
 |
| A view of the enormous roof trusses. The bottom truss chord of each one came from a single tree. |
Most of the museum focuses on past and present waterfront
activities—put another way, it’s mostly about boats. But there is one area of
the museum that is focused on the trains that turned Tacoma into a city and
another section that talked about the original warehouse activities. The museum
is adjacent to Half Moon Yard, originally a near-shore tidal area between the NP track and the cliff that was
filled in to create a flat area for a classification and storage
yard. It is still in use today by BNSF. And towering up above the museum
and yard are two significant structures— the old Northern Pacific
division headquarters completed in 1888 (featuring a beautiful four-story
circular tower) and the old Tacoma city hall completed in 1893 (with a
beautiful Italianate clocktower).
The train section of the museum includes an HO-scale display depicting Half Moon Yard and the surrounding area. And there was also an interactive G-scale display, but unfortunately it wasn’t working the day I visited.
 |
| Not a very good picture, but this provides a view from the museum looking up the hill toward Tacoma. BNSF grain hoppers are sitting in the Half Moon Yard, and up above are the old Northern Pacific headquarters and the old City Hall behind it. Sadly, freeway ramps built around 1990 now slice through the view. |
 |
| The HO-scale display of Half Moon Yard in the mid-20th century. The Balfour Dock building is the structure in the lower right-hand corner of the building. No freeway ramps here! |
 |
| For reference, here is a similar view captured from Google Earth that shows the building, Half Moon Yard, part of downtown Tacoma, and the ugly freeway ramps. |
The final stop on my Tacoma trip was a visit to the
Washington State History Museum. There were no train-related special exhibits
during this visit, but a visit to this museum isn’t complete without a stop by
the HO-scale layout on the top floor which depicts the Tacoma waterfront in the
early 20th century. Interestingly, while this model provides great
detail to certain parts of the waterfront—in some sections you can even identify
every street and building by name—the section of waterfront I was at earlier in
the afternoon is skipped over. That’s to be expected as all model railroad
layouts have to limit their focus due to space constraints, and I suppose
that it’s not really needed as the Foss Waterway Seaport has such a great
layout capturing Half Moon Yard in detail.
I arrived back at the Tacoma Dome Station to catch a
northbound Sounder train just as the first southbound train of the afternoon from
Seattle was arriving. Hundreds of people got off; a few dozen of us got on for
the return trip up to Seattle. And arriving at King Street Station we of course
saw the opposite—a few dozen of us getting off had to squeeze our way through
hundreds of commuters trying to get on. From King Street Station I was about a
half-mile from the bus stop I wanted for my return home and my app showed that a bus would be there in about 12 minutes. I thought I might be able to
walk there if I hurried and the stoplights happened to be in my favor, but my feet were
tired after a long day of walking. So instead I walked just a few hundred feet over
to the International District station where I caught a northbound Link Light
Rail train that dropped me off about a block from my bus stop. I arrived just
as the bus was pulling up for my final leg home. Perfect timing!