I finally finished up the retaining wall I have been working on the past few weeks as the weather had warmed back up and I could work outside again. This post follows on to an earlier one
you can read here.
 |
| As I had realized I built the retaining structure way too narrow, my next step was to replace the cross beams with longer ones. I decided on 6 1/4 inches. I had already covered over the wood screws on one side, but as they were securely in place, I was able to easily twist off the beam and put a new one on. |
 |
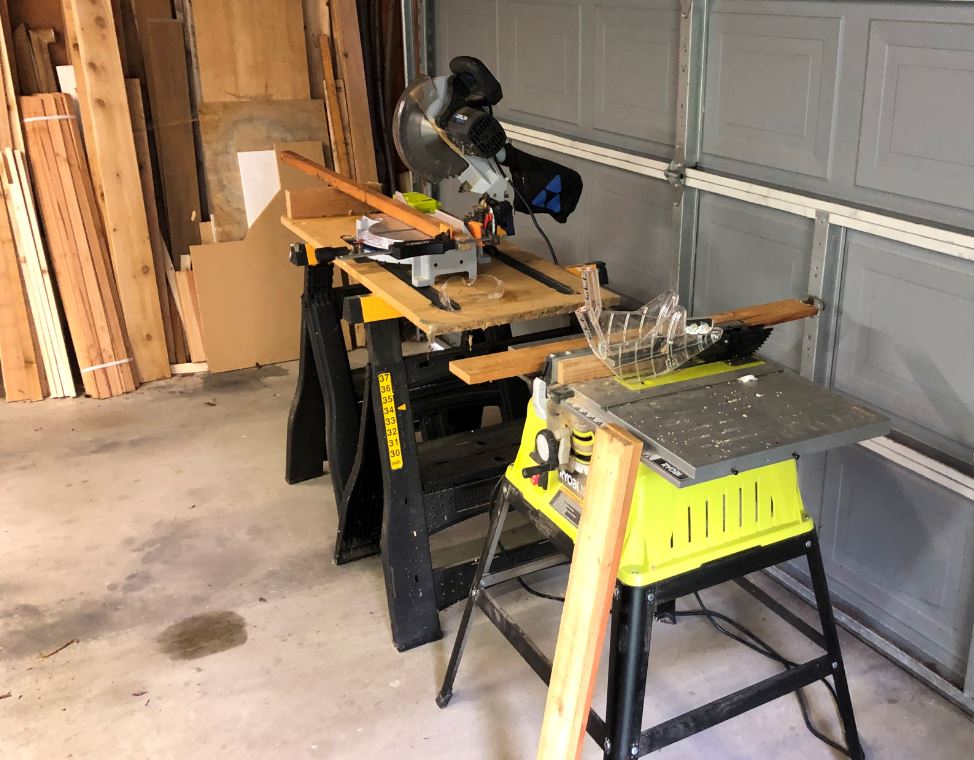
| My temporary shop set up in the garage. Do two pieces of equipment qualify as a "shop"? |
 |
| I built a second three-foot section exactly one inch shorter than the first one. I also cut a one-foot long wing wall the same height as the first section. Here all three are lined up on the garage floor. |
 |
| Next step was attaching the tile to the viewer-facing sides and tops of the wall. After curing for three days, I then applied multiple coats of sealants. I used a sealant for stone on the rock faces and a wood sealant on the exposed wood. I then let that sit for a few more days to completely dry. |
 |
| About a week after assembly, I was ready to place it in the site. |
 |
| The most critical part of placement was ensuring just enough horizontal clearance for trains on the lower track. First I checked out by BN locomotive and it had just under a 1/2 inch of clearance. |
 |
| Next I checked my longest piece of rolling stock, a streamlined passenger car. It had only a 1/4 inch of clearance, so I had to nudge the wall out a bit more. |
 |
| The passenger car is waiting safely in the tunnel during construction so it won't be harmed. |
 |
| As I cleared away the ballast to make room for the retaining wall, I realized that one of the concrete blocks underneath the track had tilted back toward the fence, causing the front to rise up about the ground level. As a result, the retaining wall wouldn't rest evenly on the ground. |
 |
| Given the choice of cutting down the retaining wall and resetting the block, I decided that fixing the underlying problem made more sense. These blocks predate the railroad—they were originally installed to support the back edge of a patio. |
 |
| After the wall pieces were all in place where I wanted them, I filled the trench with 3/4 inch crushed rock and tamped it down with a trowel, then covered that with 1/4 inch minus. |
 |
| I aligned the track in the center and adjusted as needed to make sure the slope was even. I expect there will be some settling over the next few months and I'll go back and adjust this sometime this summer. |
 |
| I then placed a top coat of ballast and gently tapped it in place then brushed away the excess. |
 |
| And finally I rinsed everything off to allow the ballast to settle and lock the track into place. Looks great! |


No comments:
Post a Comment